This post contains links to items I used in the activities described. I get commissions for purchases made through links in this post. I was not paid by these brands nor did I receive goods or payment to recommend the products, they are just the products I chose for the project.
So when I asked my (then) three year
olds what they wanted to be for Halloween, I received a resounding
“Lightning McQueen” from one, and “Mater” from the other! I
took to the internet to see what other folks did when their kiddos
wanted to be Lightning McQueen or Mater, and although I found a
couple of cool looking costumes, I wasn't finding exactly what I was
looking for. This led me to designing my own costumes which I want
to share with you.
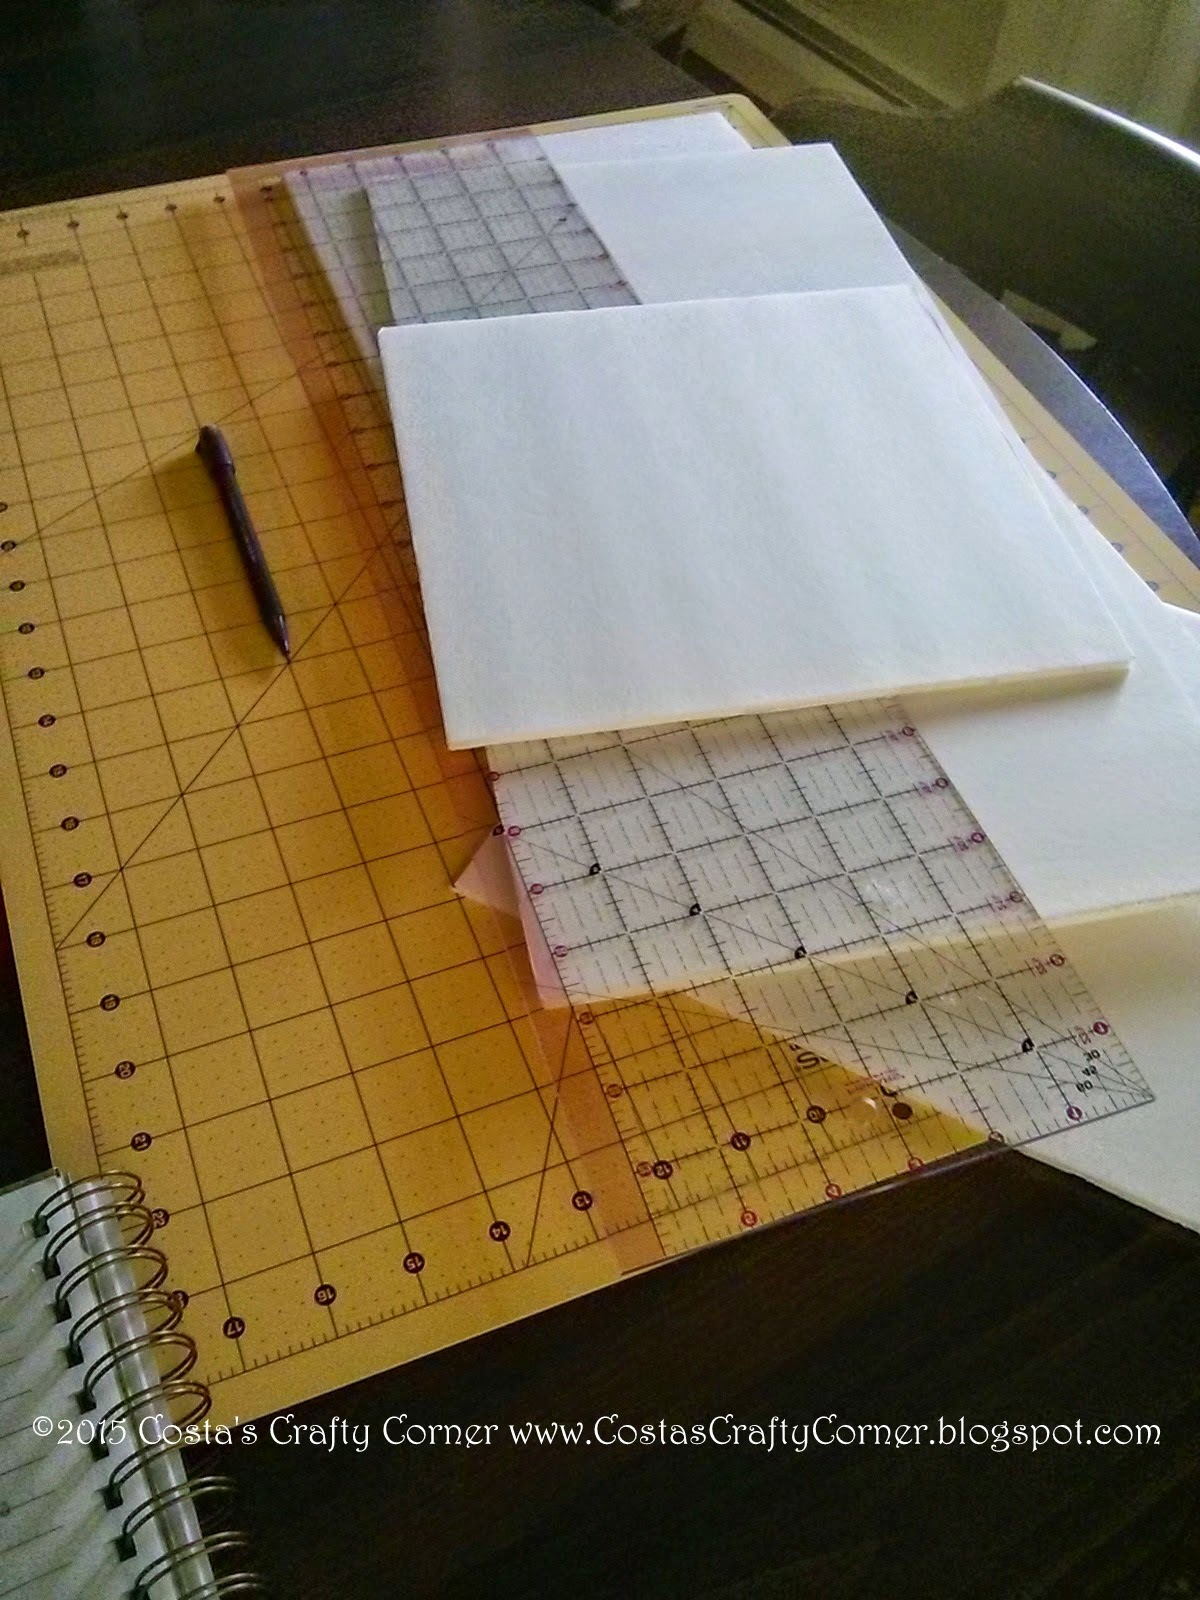 |
| Foam Board, Acrylic Ruler, Pencil, Knife, Cutting Mat |
The first thing that I did was sketch out the general shapes I wanted the costumes to each be. I measured my kids to determine the width they would need to be, and eyeball measured the rest. I came up with each costume being about 20” long, 10” tall and 12” wide.
 |
| Sketch for the General Idea of the Shape |
I began by cutting one piece of my foam
board (a piece that would be the side) into 20” x 10” and
sketched out the side view of Lightning. Then I cut it out with my
knife and traced it onto a second piece for the other side. I cut
that out too.
 |
| Cutting Out the Sides |
I did the same thing with Mater.
 |
| Mater's Sketch |
 |
| Mater's Two Sides |
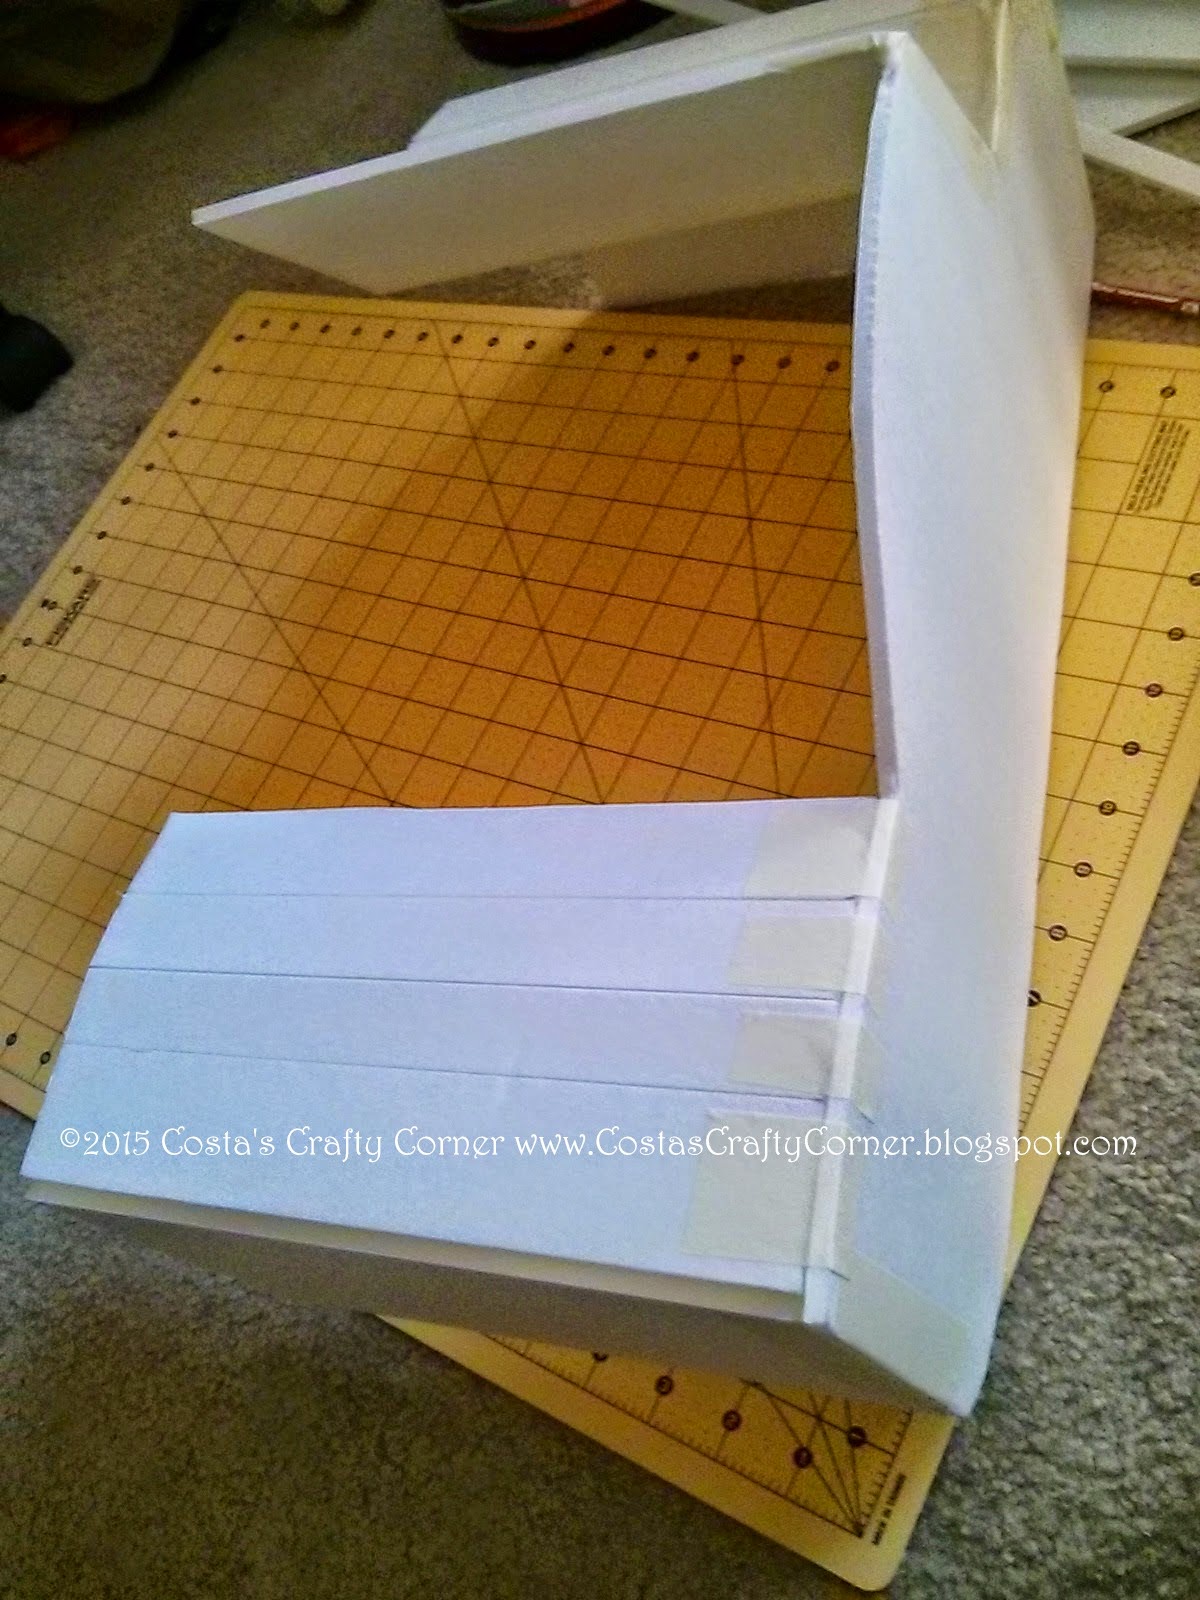
This is where it is going to get tricky to explain what I did next. This is where I built the hood and trunk of each of the costumes. To do this, I cut the foam board to the 12" wide the costume was going to be. I took the front of Lightning, and marked a line straight across the foam board for where it was going to bend back to form the hood.
 |
| Pencil Mark and Score for Hood |
Then, I scored the pencil mark only through one side of the foam board with the knife so I could bend it backwards without it breaking. I lined it up against the Lightning side, and continued to pencil mark and score for the hood in every place it needed to bend backward.
 |
| Scores for Hood Shape |
Where it needed to bend up for the windshield, I turned the foam board over, and marked and scored it on the opposite side.
 |
| Scored the Windshield on the Opposite Side |
When I reached the top of Lightning, I cut off the excess foam board.
 |
| Cut off the Excess |
Then I used masking tape to secure the hood to the side. The boys still play with these costumes, and I have had to remove the felt and secure all the edges with hot glue. If I were to make another one, I would use hot glue.
 |
| Securing the Hood to the Sides with Masking Tape |
 |
| Masking Tape Seams |
I repeated the process for the trunk.
 |
| Added the Trunk |
 |
| Front View: More Tape Added |
 |
| Lightning & Mater All Seamed Up! |
Now, I was ready for adding the felt to the foam board cars.
I took a large piece of felt (cut from the bolt, not the 9"x12" pieces), and put it out on the table. I placed the side of the car on first, and cut around the side giving myself about an inch / inch and a half border. I then spray glued the side of the car to the felt piece.
At each corner, I cut a slit all the way to the foam board.
 |
| Slits in Felt Cut Right to the Foam Board |
I used the slits to wrap them around the trunk and hood of the cars. I glued each piece down nice and tight. When I finished both sides, my Mater car looked like this:
 |
| Mater with the Sides Attached |
For the hood and trunk, I used my acrylic ruler, mat and rotary cutter to get a piece that was 12" across nice and straight, and again glued this nice and tight to the hood. I repeated this for the trunk.
 |
| Measuring & Cutting the Hood and Trunk Felt |
 |
| Mater with the Hood Glued On |
I repeated the entire process for Lightning. Sides first, hood and trunk last.
 |
| Adding Sides to Lightning |
 |
| Folding up from the bottom and gluing securely. |
 |
| Slits at Each Crease and Corner |
I took more pictures of Lightning's process than I did for Mater.
 |
| Securing the Side Cover |
 |
| Base Colors All Done!!!! |
I then added the details using scissors and lots of felt colors. Since I eyeballed most of the details, it was easiest to pin them to the body of the cars to trim as needed. When I was happy with the way the pieces were, I glued them down.
 |
| Adding the Details |
 |
| Almost Done |
I even made a "bug" stroller cover for the baby's costume. This one went much faster since I had the design and process all sorted out.
 |
| Stroller Cover Bug |
I added straps on the inside so they would fit like suspenders, and the kids were good to go! Trick or Treating was loads of fun, and my little loves got many awesome comments on their costumes!


