Tuesday, August 5, 2014

Project: Mini Crochet Basket Pattern

As I gear up for craft fair season, I find myself looking at options to add to my display table.  One of the things I need that I seem to always forget to look for or pick up when I am in a store is a small basket to put my snap clip hair felties in.  I decided this afternoon to make one while I was outside with the kids in the backyard.

This is fully adjustable to whatever size you want.  The texture on the sides of the little basket make it more interesting than straight walls.  The basket I made measures roughly 4.5" in diameter and 2.25" in height. Gauge is not important.


Materials:
I used Lily Sugar and Cream Cotton in Ecru. The amount of yarn used will depend on the size of the basket you make.
I used a K and a J hook

Stitches and Abbreviations Used:
Magic Circle - MC
Single Crochet - SC
Slip Stitch - Sl St
Beginning Double Crochet - Beg DC
Double Crochet - DC
Front Post Double Crochet- FPDC
Stitches - Sts
Chains - Chs

Notes:
The basket is made in joined rounds.

Bottom of Basket - Using K Hook.
Round 1: 8 SC in MC. Join to first SC with Sl St. (8 SC)
Round 2: Ch 1. 2 SC in each SC.  Join to first SC with Sl St. (16 SC)
Round 3: Ch 1. *SC in first SC. 2 SC in next SC.** Repeat from * to ** around. Join to first SC with Sl St. (24 SC)
Round 4: Ch 1. *SC in first SC. SC in next SC. 2 SC in next Sc.**  Repeat from * to ** around. Join to first SC with Sl St. (32 SC)
Round 5: Ch 1. *SC in first SC. SC in next two SC. 2 SC in next SC.** Repeat from * to ** around. Join to first SC with Sl St. (40 SC)
Round 6: Ch 1.  *SC in first SC. SC in each of the next three SC.  2 SC in next SC.** Repeat from * to ** around. Join to first SC with Sl St. (48 SC)

Sides of Basket
Round 1: Turn.  Beg DC in Back Loop Only (BLO). DC in BLO of each stitch all the way around. Join to Beg DC with Sl St. (48 DC)
Round 2:  Beg DC. FPDC in next DC. *DC in next DC. FPDC in next DC.**  Repeat from * to ** all the way around.  Join to Beg DC with Sl St. (48 sts)
Switch to J Hook
Round 3: Ch 1. SC in first and each DC across. Join to first SC with Sl St. (48 SC)
Round 4: Ch 1. SC in first and each of next 7 sts.  Ch 8.  Skip 8 Sts.  SC in each of next 16 sts.  Ch 8.  Skip 8 Sts. SC in each of the last 8 sts. Join to first SC with Sl St. (32 sts and 2 sets of 8 chs)
Round 5:  Ch 1. SC in each SC acround.  8 SC over Ch 8 space.  SC in each SC across.  8 SC over Ch 8 space. SC in each SC around.  Join to first SC with Sl St or with invisible join.
Fasten off, weave in ends.

Special Notes:  You can make the basket larger by continuing to increase in rounds when making the basket bottom.  You can also make the basket taller by repeating Round 2 as many times as you want until you reach about an inch shorter than your desired basket height.

Enjoy!

Sunday, February 23, 2014

Project: Busy Bag Swap


If you've read any of my posts, then you how how much I love Pinterest and all around DIY.  I have been seeing Busy Bag Ideas for toddlers for quite some time, and although I make loads of stuff for the kids to do, and we do many activities, I loved the idea of having special things that only get pulled out when I need them sitting for a little bit so I can accomplish the important task of making dinner.  My husband has been having more late meetings (the joys of living on the East Coast and working with loads of folks on the West Coast and across the dateline), which means lots of dinners are things I can either throw in a crock pot or throw in a baking dish and into the oven and forget about it until the timer goes off.  Sometimes, though, I need to be at the stove, and it would be significantly easier without little ones at my feet!

Another reason this happened recently was that I had run into a friend from elementary school (I live in my hometown) back in October when I was working a craft fair.  She had a little girl just younger than my boys and just older than my daughter and had recently moved back into the area.  Of course, the logical thing to do was to add her to my Facebook, and I was so happy I did! Not only did I get to reconnect with her through that and share mommy moments, but she had remained in contact with many of my other elementary school friends, and before I knew it, I had reconnected with most of my Girl Scout Troop from elementary school.

Recently, there had been a death of one of my college professors, and although it was over a sad note, I was also able to reconnect with my classmates at college.  Lo an behold, everyone has kids the same ageish as mine!  With January typically being slow for me after the holiday season I decided to organize what I had always wanted to, A Busy Bag Swap!

I got the idea from Life Lesson Plans who posted about swaps from Coffee Cups and Crayons.  I began by posting a blurb right on Facebook as my status, with an explanation of what a busy bag swap was, and asked my friends who wanted in.  From the friends that posted they were interested, I then created an Event on Facebook giving us about five weeks to work on it and pull it together.  I sent out invitations through the Facebook Event with further details and this is exactly (minus some names and location stuff) what I put in there:

Ok, ladies! I am putting you on this event to schedule our Busy Bag Swap! I picked this date because it gives us each about a month to get our bags together, and it's conveniently just before Valentines Day, so we can give the bags to our tots for the holiday!

This is what we do: I have three kids. I would like a bag for each of my kids, so I will make three different busy bags. We each need to say how many kids we want bags for - Like C. - if you would like a set for each of your boys, you make two different bags (Like I am making three). If C. and I were the only two in this, we would make a total of five bags (Hey, I want my kiddos to have the super cool things I am going to make for your kiddos, too!)

We will store them in those Ziplock Bags with the zipper - those seem to be easier for the kiddos to open and close on their own.

First step: Say how many kids you need bags for!
Second step: Announce what kinds of bags you plan on making so we don't have any duplicates.
Third step: Make up your bags.
Fourth step: We'll pick a place to meet up one evening to meet each other, swap kiddo stories, and have mom time without little ones and husbands. We range from City 1 and City 2, through City 3 and up to City 4, so we will compromise on a meeting place, and I am sure folks would be willing to carpool.

Here we go:
I need bags for each of my three kids.
I will be making the following bags:
A Play Doh Bag
A Fishing Game Bag
A Button Snake Game Bag

Your turn! This will be awesome!


Most everyone responded, but to be sure, I picked a day that "registration" was to close, and published the final list of mom's participating in the Event along with the final kiddo number count, too.  I didn't want to exclude any of my friends, but we needed a final count within a reasonable amount of time to finish these!

For my Play Doh bag, I grabbed the printables from Planet of the Apels. I picked the ones I liked and printed a set for each bag on glossy photo paper from the Dollar Tree.  From the Dollar Tree, I also snagged these adorable plastic containers with lids that were 4/$1. (they don't have them online so I cannot add the link).  I had planned on making play doh, but we had enough of it unopened in my house, that I just broke it up and put it in the smaller containers for the bags.

For my Fishing Game bag, I made up a fish template, and cut out a bunch of felt fish.  Since I work a lot with felt, I had plenty of this to spare.  I then sewed a washer on a ribbon between two layers of felt at the mouth, and just repeated that a bunch of time to have schools of colorful fish.  For the rods, I took dowels and wrapped a ribbon around them.  I also drilled holes in magnets, and strung the ribbon through the magnet.  

Hot glue is my friend.

For my button snake bag, I picked up some nice grosgrain ribbon, threaded it through some big primary colored buttons, and stitched the ends closed on my machine.  Then, I cut out hearts, squares and circles from primary colored felt, and cut lines in the middle so the kids could button them.  Lastly, I had made up in Microsoft Word some pattern templates, and printed those so the older kids could try to match the patterns.


I didn't take loads of pictures, because I didn't think this would turn into a post.  When we did meet up, I came home with some seriously awesome Busy Bags.  I wrapped them all up, and did give them to the kiddos for Valentine's Day.  They were very excited about their new games, and eager to learn how to do all of them. They are not part of the kids toys, and are now only taken out when I need them sitting at the table while I cook, but this was a wonderful experience!


Thursday, February 13, 2014

Project: Slime

Yesterday seemed like a good day to check out my Pinterest Board where I hoard all kinds of activities for my kiddos to do. 

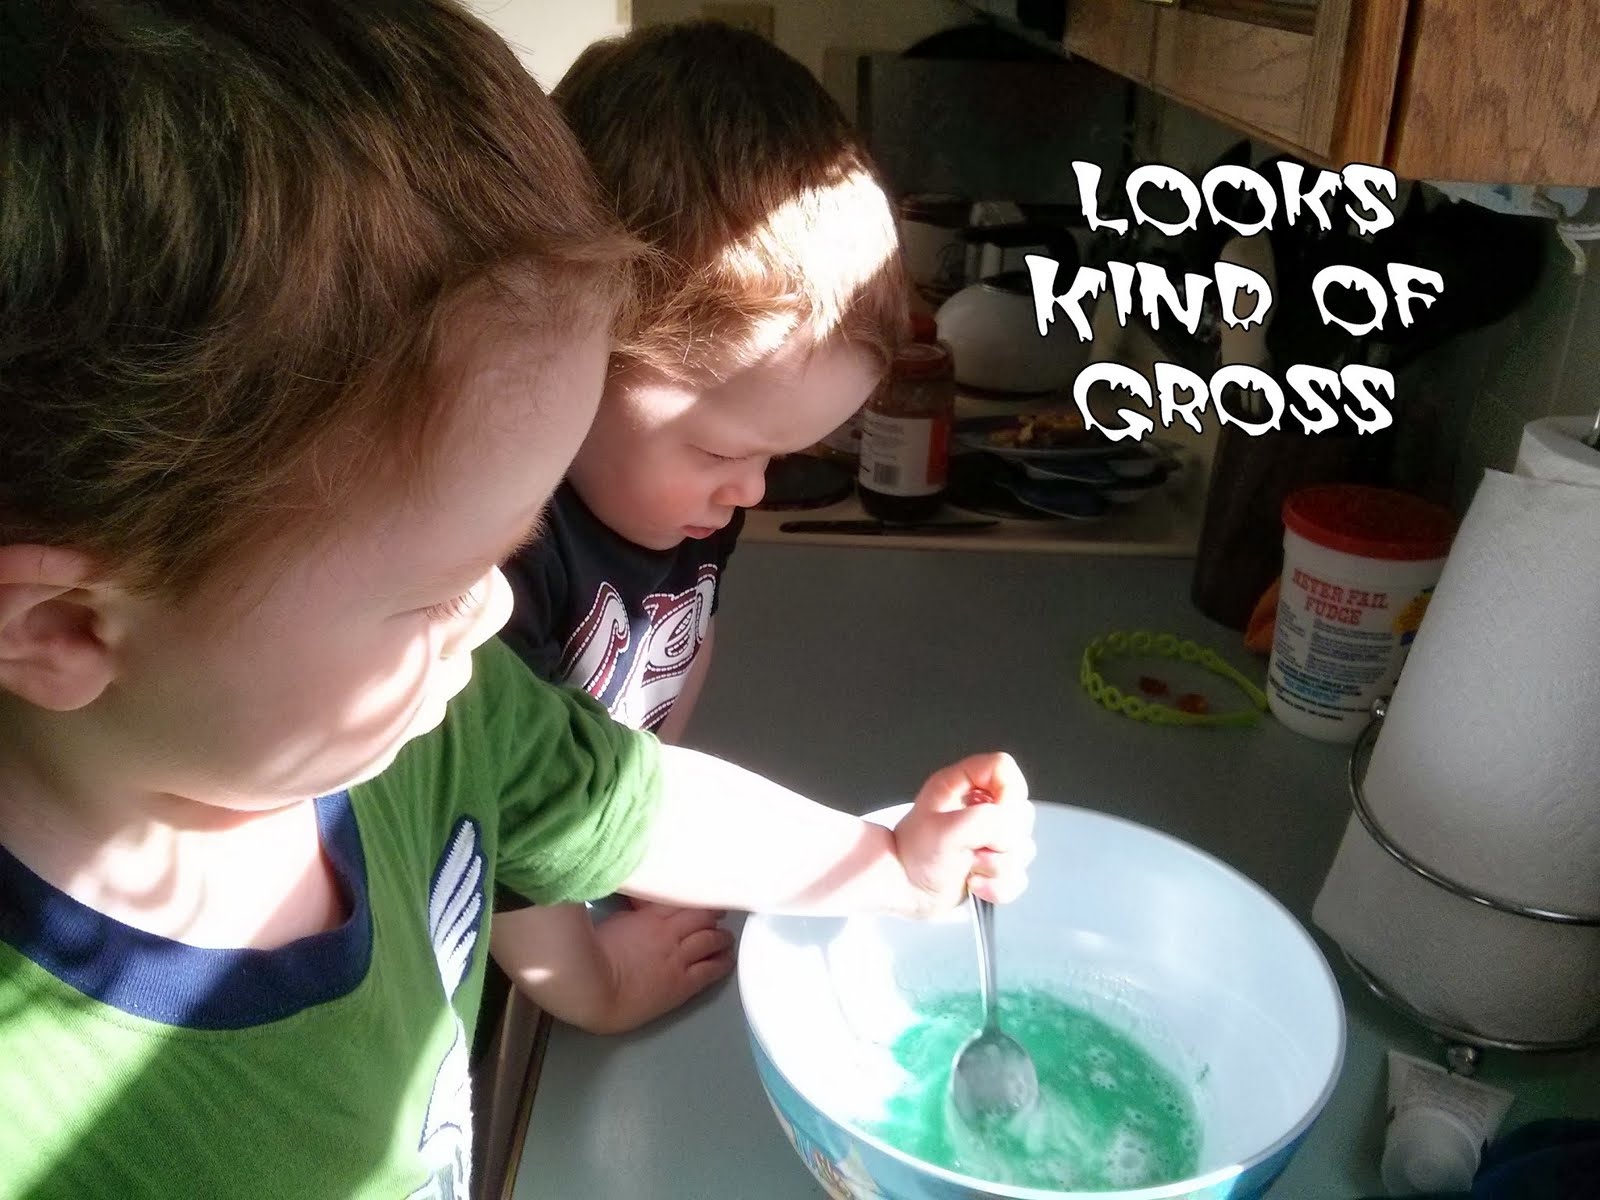
From that, I took one of the boys on a hunt around the house for supplies and we found that we had everything we needed to make Slime as featured in A Pumpkin and a Princess

Although we had glow in the dark paint on hand, I decided not to put it in the recipe since we weren't going to be playing with this with the UV Light (Also known as the "Magic Lamp" in our house).

Here are our fun photos of us following A Pumpkin and a Princess's directions:


After lunch I broke it up into three blobs (since it had oozed back together) and gave each of the kiddos their own to play with.

My daughter was not impressed when I stuck both her hands in. Mini meltdown happened. (Gosh, mom! Don't make me to messy things!)


She was alright after I took her hands out, cleaned her off, and showed her she could just poke it.


My boys jumped right in.  One got a little antsy when it was sticking to him, but he was ok when I showed him he could clean it off by using more.


My daughter lost interest quickly, and went off to play with her kitchen set.  The boys totally hung out with their slime for another hour and fifteen minutes or so.  They did really well keeping it on the table, off the floor and out of their clothing.  Of course, I managed to stick my sweatshirt clad elbow directly into a pile.  Thankfully, atypicalmomof2 had me covered.  Check her out to see how to remove this stuff with vinegar! So easy!


Wednesday, February 12, 2014

Spaces: Sharing My Creative Space

This has been a post I have been very excited to share with you! Although, like always, it has taken me a while to sit down and have time to type it all out for you.  Our house has been overrun with an absolutely ridiculous cold that just won't go away.  It's been about a month, and all the kids still have it lingering while it's just about left me, and is just starting with my husband.  I've also recently taken TV out of our daily routine, and have had an absolutely exhausting week scheduling in more activities and things to occupy the kids with.

Also, check out my teammate's blog at Lila Creates.  Her first post of her creative space inspired me to write this up.  Drop her a line to let her know you visited from here.

My Father In Law (FIL) has built a beautiful garage on his property with two big bays; one for working, and one for storing.  His working bay has big, awesome, jaw-dropping pegboard on three of the four walls.  We had recently visited so my husband and FIL could work on one of our cars, and when I snuck (sneaked? I like snuck) away from the kids to take a look, I was immediately envious of the pegboard, and desperately wanted some for my craft room/our office/my creative space/studio (you know, the little room that takes on SO many functions since the rest of the house is overrun by three kids and a dog).  Luckily, my FIL keeps every piece of scrap, and my husband came home with some extra pieces to paint, and scrap wood for the frame.

Here's an awesome picture of the space all put together in daylight:

Go ahead, Pin it. I know you want to!

 Here is a picture for you with details on all the bits and pieces you see there:


And now it's time for some of the other features around this room.


There! Now you can see where I work!  I love my pegboard! I love my yarn bins.  I love this space.

And now one of the kiddos is up from nap, so I need to go make up some lunch.

Happy crafting!

Monday, January 6, 2014

Project: Lens Cap Drawstring Bag

I had recently made a camera strap cover for a good friend, and although I included pockets, I didn't think to ask how big her lens cap was!  I thought I had enough material to make her another with larger pockets, but when I settled in to do this during the kids nap time today, I saw that I didn't.  I will have to make her another at some point, but until I can get back out to the store to get more supplies, I figured I'd make a temporary "fix" for her so she doesn't misplace that lens cap!  I even remembered to take pictures so that I could share this with you!

Introducing...


First, grab your lens cover!  Next, you'll want a rectangle of fabric that your lens cover will definitely fit in plus at least an inch or more on top to create the area for the ribbon.

For my project, I had 1/8" ribbon on hand, so the chassis for the drawstring didn't need to be too big.  You will want to adjust this to the materials you want to use.

My fabric measured 9" x 5"
My ribbon was 1/8" ribbon and I needed two lengths of it measuring 26" each. This is because they are extra long so my friend can attach them however she wants!  Yours may be shorter if you would like.

Fold the rectangle with right sides facing and matching up the two short ends at the top.

See? Lots of room - the lens cover will definitely fit in this bag!

Now, take the fabric to your sewing machine and stitch up the two sides, leaving about an inch to an inch and a half open at the ends.

Ready to stitch!


Visual for the ends staying un-sewn.
Work with one side at a time.  Take out your iron, and fold in the corners where you didn't sew into nice triangles.  Press with the iron.


Next, fold down the top about 1/4", and press that, too.  

Fold this down about another 1/2" and press.


Next you will want to sew this down.  I stitched this from the end all the way to the other end pretty much right at the edge.


Repeat for the other side.

Mine was off a bit and some of the edges were too raw (hey, I was winging it).


So I re-did the side stitches and ran this part through the sewing machine to finish it off so it won't unravel.


Next, turn right side out, and get ready to string your ribbon!


Here is a picture of the fabrics I used in the strap I had already made, and my color choice for ribbon for my little lens cover drawstring bag.


Grab a big tapestry needle and thread the ribbon onto the needle.  Using the needle, pull the ribbon all the way through one chassis, and then around to the other one.  Your loose ends of the ribbon should now be hanging out the same side of the pouch.

  
For the second piece of ribbon, do the same thing, but pull it through the opposite side from the side you just finished.


Once the ribbon is threaded you are all set!


You can knot the ends of the ribbon together, or attach the pouch to whatever you are making this for.

Thanks a bunch!

Friday, January 3, 2014

Catching Up: My Handmade Holiday

I am a very lucky and very happy woman.  My children are all at a very fun stage where they love to pretend, and love to be with me.  The "baby" is running full speed ahead and doing her best to keep up with her brothers.  They require both of my hands all of the time, and most of the time it's extremely rewarding.  Needless to say, posting here has taken a very back seat (like a seat all the way in the back of a very long bus) to everything else that has been needing my attention.

I made super awesome Halloween costumes for all the kiddos, I took a lot of pictures of that process, too, and someday when things really settle down, I will write up that tutorial.  After Halloween finished, my Christmas crafting planning happened, and I am very pleased with all that I was able to accomplish this year without really being stressed out.  I hope you and your families celebrated a wonderful Christmas and New Year.

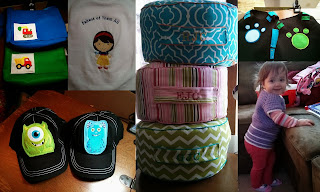
My kids made out like handmade gift bandits receiving new crocheted hats and mittens, monogrammed floor poufs, Creature Power Suits that resemble Wild Kratts ones, "laptop" bags for their LeapFrog LeapTops. Embroidered fleece shirts and t-shirts, a crocheted sweater, pirate hats and gnome hats, and so many other gifts I did not make to inspire their creativity, imaginations, and minds.  I currently have the messenger bags, pirate hats and gnome hats available for purchase in my Etsy shop.  To make the floor poufs I followed the amazing tutorial from Living with Punks.


I have four beautiful nieces that are very good to me, and they all let me make them awesome homemade gifts too. The younger two of my girls received slipper socks in exactly the colors they wanted.

My oldest niece belongs in the woods and should have been a cowgirl.  She asked for a pair of Cowgirl Slippers (ha!) and I ended up using the Lion Brand Cowboy Booties pattern for inspiration and creating a pair to fit her gigantic size 8 feet.  Don't worry, I wrote this up too, but I didn't take any pictures so you may or may not see a post on these.  She also asked me for an infinity scarf - and since she's on Pinterest, she was able to send me loads of ideas on exactly what she wanted (and didn't want) and I was able to zip one up to be exactly what she wanted.  Lastly, she let me get creative with my new embroidery machine and I monogrammed a pair of boot socks for her.


My second oldest niece had been hinting since August that she wanted a pair of fingerless Cinderella length gloves in royal blue.  For her, I made up a pair of the beautiful Ripple Lace Fingerless Gloves provided by Bethsco Blog in Red Heart Shimmer Royal and she went bananas.  She's full on into the Mortal Instruments this year, so I also had used black felt, and iron on fusible webbing to cut out the shapes of some of the major runes so she can iron these onto whatever she wants.  The last bit of her gift was that I had digitized one of the runes from the books into a file for my embroidery machine, and offered to put it on any article of clothing for her.  She has me put it on a sweatshirt I had picked up for her, and a pair of jeans.  It came out super cute, and totally made my day that she appreciated it.  In fact, I was psyched that all my nieces truly appreciated their gifts this year.


Hooray for handmade holidays!